Although it will be some time before Windows 10 becomes generally available, it’s never too early to start thinking about the process for upgrading from the current Windows platform.

Upgrading is not without the occasional hiccup, however, from a time-saving and ease-of-use standpoint, it’s much faster and easier than doing a full wipe and then dealing with importing all your old files and installing apps. How to upgrade from Windows 8 to Windows 10? It might be a relatively straight forward process, but it’s always useful to bring a guide.

The most important thing you need to do before upgrading is to check whether your current version of Windows is properly activated. To check if your copy of Windows 8 is activated, press Windows Key + W to access the “See if Windows is Activated” menu. Alternatively, you can look under “Control Panel” » “System” to see the status of the machine. Then you should determine if you are running a 32-bit machine or a 64-bit machine. You can check what version of Windows you are currently running by simply looking in the same place where we check the Windows activation. One thing you should remember is that you can never upgrade an installation of Windows from 32-bit to 64-bit. With that in mind, download the appropriate Windows 10 installer tool.

Now, if you are ready to upgrade, run the installer tool to get started. You’ll first be prompted to “Upgrade this PC now” or “Create installation media for another PC”. Select the first one and click “Next”. This begins the download process which is a long or short affair dependent entirely upon your Internet connection speed.
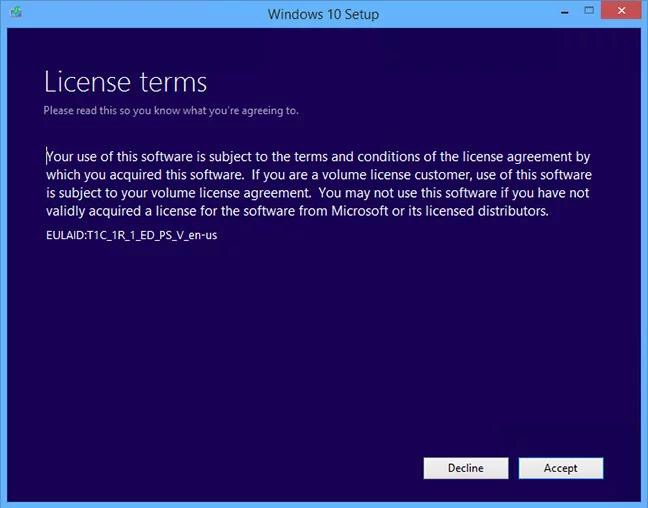
When it finally finishes downloading and unpacking the installation media, you’ll be prompted to accept the terms of the license agreement. Click “Accept” and the installer will do a final update check before kicking you over to the final confirmation page.

Here if you want to make changes to what it is keeping, click the small “Change what to keep” link as seen in the screen. You’ll be prompted to select which kind of installation you want.

There are 3 options to select: “Keep personal files and apps”, “Keep personal files only” and “Nothing”. Choose the one you want and click “Next”. Then it will return to the final screen. After confirming the installation, click “Install” and your PC will reboot a few times as the installer works and when it’s done you’ll be returned to the Windows login screen.

When the login screen pops up for the first time, you’re not quite done yet. As soon as you log in for the first time, you’ll be prompted to accept the “Express Settings” or click the tiny link to “Customize settings”. You should definitely click “Customize settings” to see what Microsoft has set.

The first screen is called “Personalization”, but should really be called “Can we send a bunch of information about you to Microsoft?” You can choose to turn them on or off as you want.

The second screen is focused on browser protection, connectivity and error reporting.

The final screen shows you the four new Windows apps: “Photos”, “Microsoft Edge”, “Music”, “Movies & TV”. Click “Next”, after a short wait, you’ll be sent to the Windows 10 desktop.

Now is the time to enjoy your new Windows platform.
